
AcuteFirearms Monthly Blogs


Training, Skills & Practice
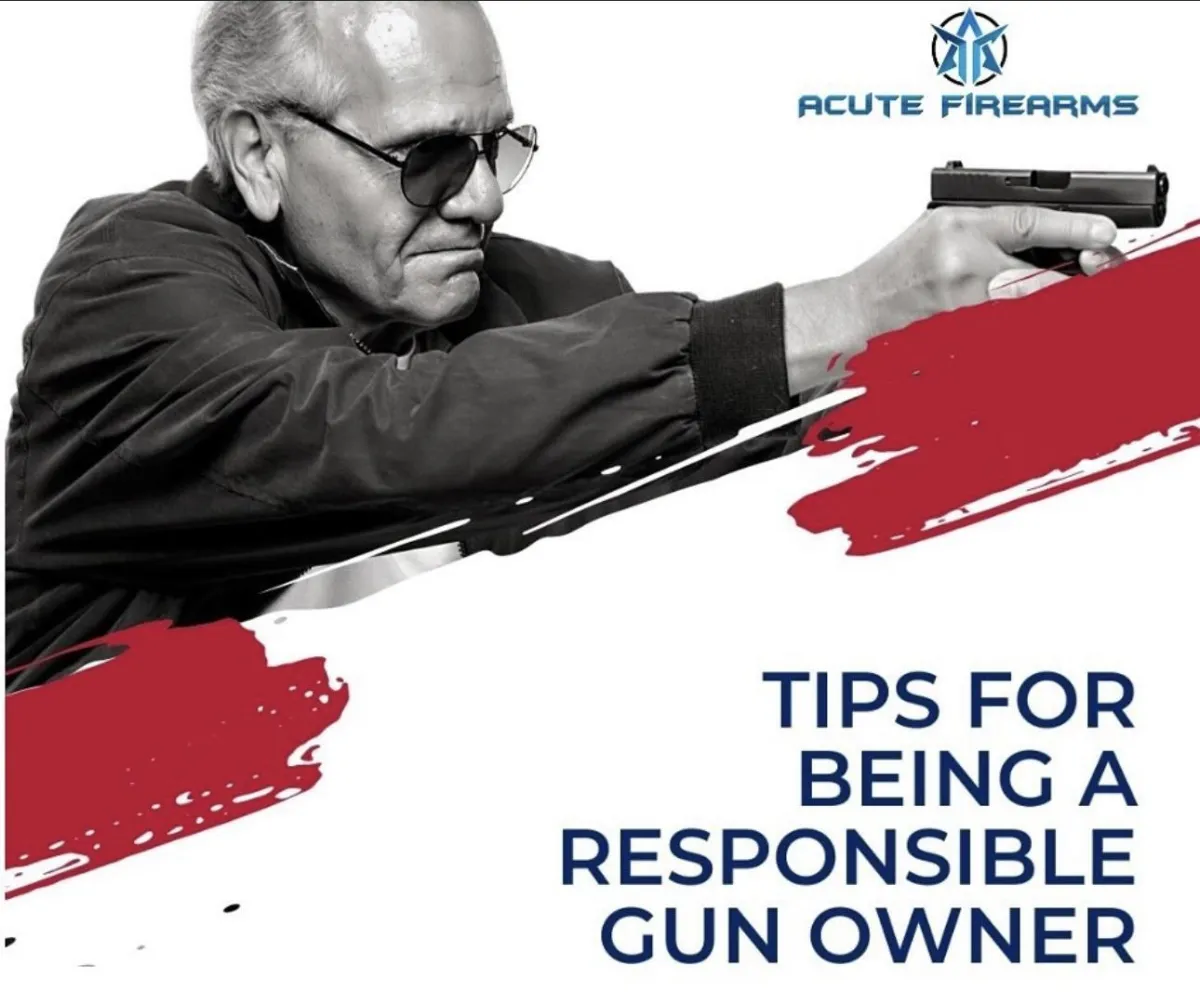
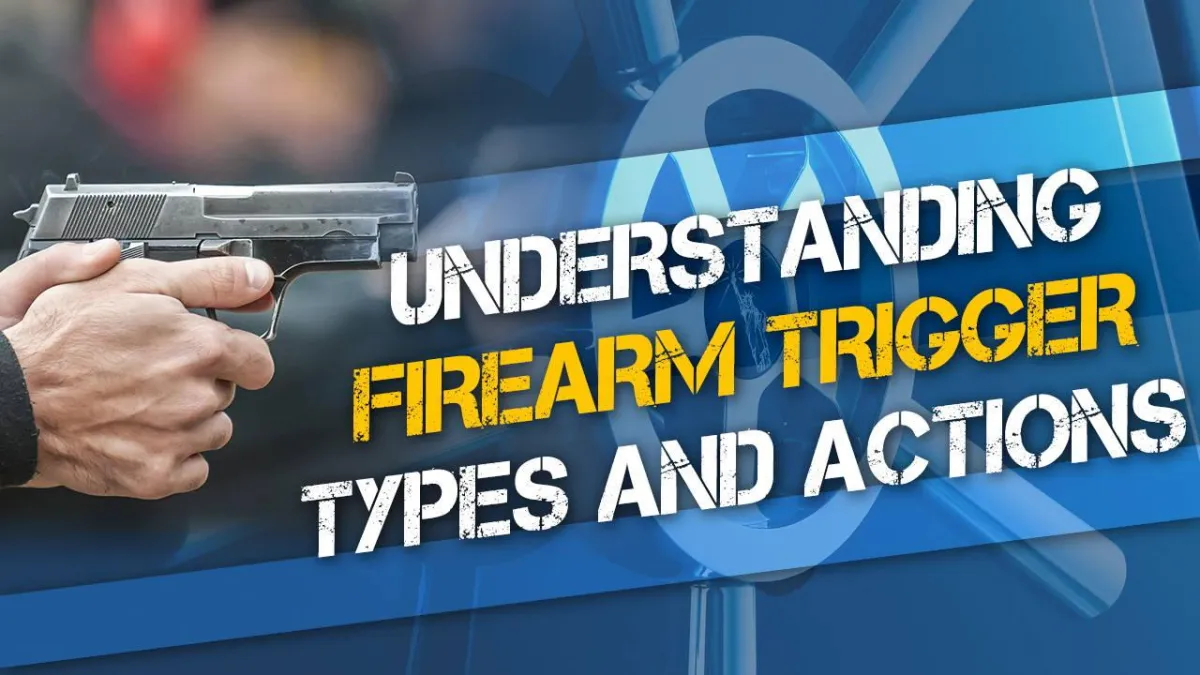
Training, Skills & Practice: A Guide for Responsible Gun Owners
Owning a firearm comes with a lifelong commitment to skill development and safe handling. Whether you’re a new gun owner or a seasoned shooter looking to sharpen your abilities, consistent training—both at home and at the range—helps build confidence, competence, and responsible habits. In this guide, we’ll explore safe dry-fire drills, how often you should train, tips from experts, how to choose the right holster, and why eye dominance matters more than you might think.
Dry-Fire Drills You Can Do at Home (Safely)
Dry-fire practice is one of the most effective ways to improve your shooting fundamentals without firing a single round. Best of all, you can do it at home—as long as you follow strict safety rules.
Before You Begin: The Non-Negotiable Safety Checklist
• Unload your firearm completely—magazine removed, chamber visually and physically checked.
• Remove all live ammunition from the room.
• Choose a safe direction with a solid backstop (a wall that can safely stop a round, in case of a mistake).
• No distractions: phone on silent, no TV, no multitasking.
Effective Dry-Fire Drills
• Trigger Control Drill: Practice a smooth, consistent press without disturbing your sight alignment.
• Presentation from Ready Position: Focus on bringing the firearm up to the line of sight smoothly and consistently.
• Sight Alignment & Target Focus: Use a small target on the wall to refine your visual discipline and consistency.
• Reholstering Practice (unloaded only): Slow, deliberate movements reinforce muscle memory and safety habits.
Dry-fire practice builds familiarity with your trigger, improves accuracy, and reinforces safe handling—without spending a dollar on ammo.
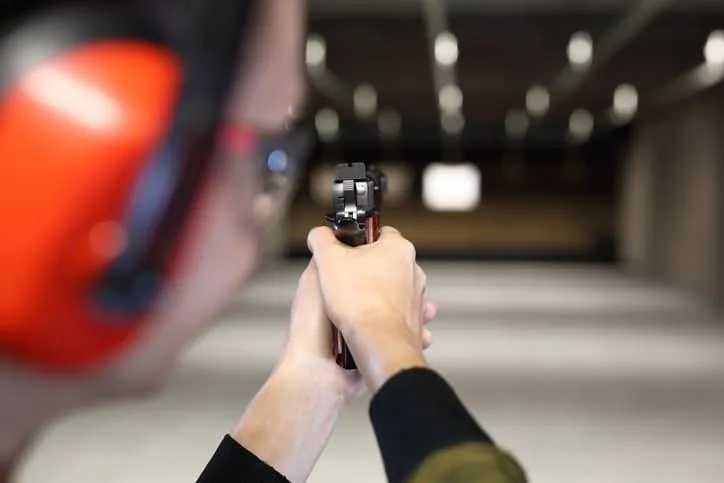
How Often Should You Train at the Range?
There’s no one-size-fits-all answer, but general guidelines can help.
For New Gun Owners
Aim for one session every 2–4 weeks while you’re building foundational skills. Consistency matters more than duration.
For Experienced Owners
A monthly range session helps maintain proficiency. More frequent practice is beneficial if you carry daily or participate in shooting sports.
For Concealed Carry Holders
Regular practice with your chosen firearm and holster setup is crucial. Range sessions should reinforce:
• safe draw and presentation (if your range allows it)
• recoil management
• shot placement and follow-up shots
Tip:
Your firearm is a perishable skill—without practice, performance declines. A combination of occasional live fire and regular dry-fire keeps you sharp.
Improving Your Accuracy: Tips from Experts
Experts consistently emphasize the fundamentals. Accuracy isn’t about fancy techniques—it’s about doing the basics exceptionally well.
1. Master Your Grip
A stable, consistent grip ensures better control and recoil management. Your hands should work together, applying firm but not tense pressure.
2. Prioritize Trigger Control
Smooth, straight-to-the-rear trigger movement prevents the muzzle from dipping or shifting. This is one of the biggest accuracy boosters.
3. Focus on Sight Alignment
Many shooters “rush the sight picture.” Even a slight misalignment translates into significant deviation downrange.
4. Control Your Breathing
A natural pause in your breathing helps stabilize the firearm when taking more precise shots.
5. Practice with Purpose
Don’t just send rounds downrange. Set goals:
• group size improvement
• consistent shot placement
• timed drills (if allowed by your range)
Choosing the Right Holster for Concealed Carry
Your holster choice affects safety, comfort, and your ability to carry consistently.
What to Look For in a Quality CCW Holster
• Trigger Protection: The trigger must be completely covered—no exceptions.
• Retention: The holster should securely hold your firearm, even during movement.
• Comfort: If it’s not comfortable, you won’t carry consistently.
• Fit for Your Firearm: Avoid “one-size-fits-all” holsters.
• Safe Reholstering: The holster should allow slow, controlled reholstering without collapsing.
Popular Carry Positions
• Appendix (AIWB): Accessible and popular for concealed carry, but requires strict safety discipline.
• Strong-Side (3–4 o’clock): Traditional and comfortable for many body types.
• Inside-the-Waistband (IWB): Best concealment.
• Outside-the-Waistband (OWB): Most comfortable but harder to conceal.
Try multiple options if possible—comfort and fit vary greatly from person to person.
Understanding Eye Dominance in Shooting
Eye dominance plays a big role in accuracy, especially for new shooters.
What Is Eye Dominance?
Most people have one eye that provides a stronger visual input than the other—similar to being right- or left-handed.
How to Check Yours
A simple test:
1 Make a small triangular opening with your hands at arm’s length.
2 Focus on a distant object through the opening.
3 Slowly bring your hands back toward your face.
4 The opening will naturally align with your dominant eye.
Why It Matters
• If your dominant eye and dominant hand match (right-right or left-left), great.
• If they don’t (cross-dominant), you may need to make small adjustments, such as shifting your head position or experimenting with which shoulder you shoot from for long guns.
Understanding dominance helps improve sight alignment, comfort, and consistency.
Final Thoughts
Responsible firearm ownership means continuous learning. By combining safe dry-fire practice, regular range training, strong fundamentals, the right gear, and awareness of personal factors like eye dominance, you build not only skill but confidence and responsibility.
If you’d like, I can also create:
✅ an SEO-optimized version
✅ a shorter or longer rewrite
✅ a version tailored to your specific gun store
Just tell me!

What our Customer are Saying
Frequently Asked Questions
How often should I get my Firearm serviced & Cleaned?
Regular maintenance is crucial; typically every 6 months or 5,000 to 7,500 miles.
What is included in a standard Service & Cleaning?
It involves replacing spark plugs, filters, and checking ignition and fuel systems.
How do I know if my brakes need replacing?
Look for signs like squealing noises or increased stopping distances.
What should I do if my check engine light comes on?
It's a warning; bring your car in for diagnostics to identify the issue promptly.
Can you service hybrid or electric vehicles?
Yes, we specialize in servicing hybrid and electric vehicles to maintain their efficiency.
Get reliable and expert advice for all your sporting goods needs. Our mission is to ensure every customer receives excellent customer service. Our specialists prioritize your needs with quality and affordable solutions.
Newsletter
Subscribe To Our Newsletter